


As winter approaches and the temperature begins to drop, it’s essential to start thinking about winterizing your RV. Whether you’re a seasoned RV traveler or a beginner, properly winterizing your RV ensures it stays protected during the colder months.
When water freezes in your pipes or your exterior is exposed to snow and ice, it can lead to costly repairs. Taking the time to prepare your RV for winter not only safeguards it from damage but also gives you peace of mind knowing it’ll be in perfect condition when you’re ready for your next adventure.
In this guide, I’ll walk you through some of the necessary steps to winterize your RV, covering different sections like the interior, exterior, plumbing, and electrical systems.
I’ll also point out any differences between motorhomes, travel trailers, and fifth wheels, so you can follow the process tailored to your specific RV type. Each section includes the tools and supplies you’ll need, with links to easily find them.
Disclaimer: Some of the links on this blog are affiliate links, meaning, at no additional cost to you, we may earn a commission if you click through and make a purchase. We only recommend products or services we believe will add value to our readers. Thank you for supporting our site.
Don't want to miss an important step? Grab our FREE RV Winterization Checklist and accompanying video to help you prepare your RV for cold-weather storage.
RV Winterization at a Glance
| Area | What Needs Attention |
|---|---|
| Plumbing | Drain water, protect lines and fixtures |
| Interior | Remove food, control moisture, clean appliances |
| Exterior | Inspect roof, seals, tires and covers |
| Electrical | Protect batteries and eliminate parasitic loads |
| Motorhomes | Check engine, fuel and chassis requirements |
Every RV is different. Always follow your owner's manual and appliance-specific winterization instructions.
When Should You Winterize Your RV?
One of the most common questions new RV owners ask is, "How cold does it have to get before I need to winterize?"
The answer depends on several factors, including how long temperatures remain below freezing, your RV's insulation, whether the RV is heated, and how exposed the plumbing is.
A brief overnight dip to 32°F doesn't automatically mean your RV's water lines will freeze. However, several hours of colder temperatures, repeated freezing nights, or an extended deep freeze can create a much greater risk.
Essential Tip: Don't base your decision on the overnight low temperature alone. Consider how long freezing conditions will last and whether your RV's plumbing and tanks are adequately protected.
If you're putting your RV into storage for the winter, completing a proper winterization before sustained freezing weather arrives is generally the safest approach.

1. Winterizing the Inside of Your RV
The inside of your RV is like your home, so it’s important to protect all your appliances, electronics, and furniture from freezing temperatures. Leaving your RV unattended without proper winterization can lead to mold, mildew, or even broken electronics. Ensuring the interior is prepped and secured will keep everything in working order when spring rolls around.
Steps:
Clean Your Appliances: Remove all food items from the fridge and freezer. Leave the doors slightly open to avoid mildew buildup. Clean out the microwave, oven, and any other kitchen appliances. Consider placing moisture absorbers inside cabinets and drawers.
Remove Electronics: If you have portable electronics like TVs or gaming consoles, take them out of the RV. Cold temperatures can damage electronic devices, especially those with screens.

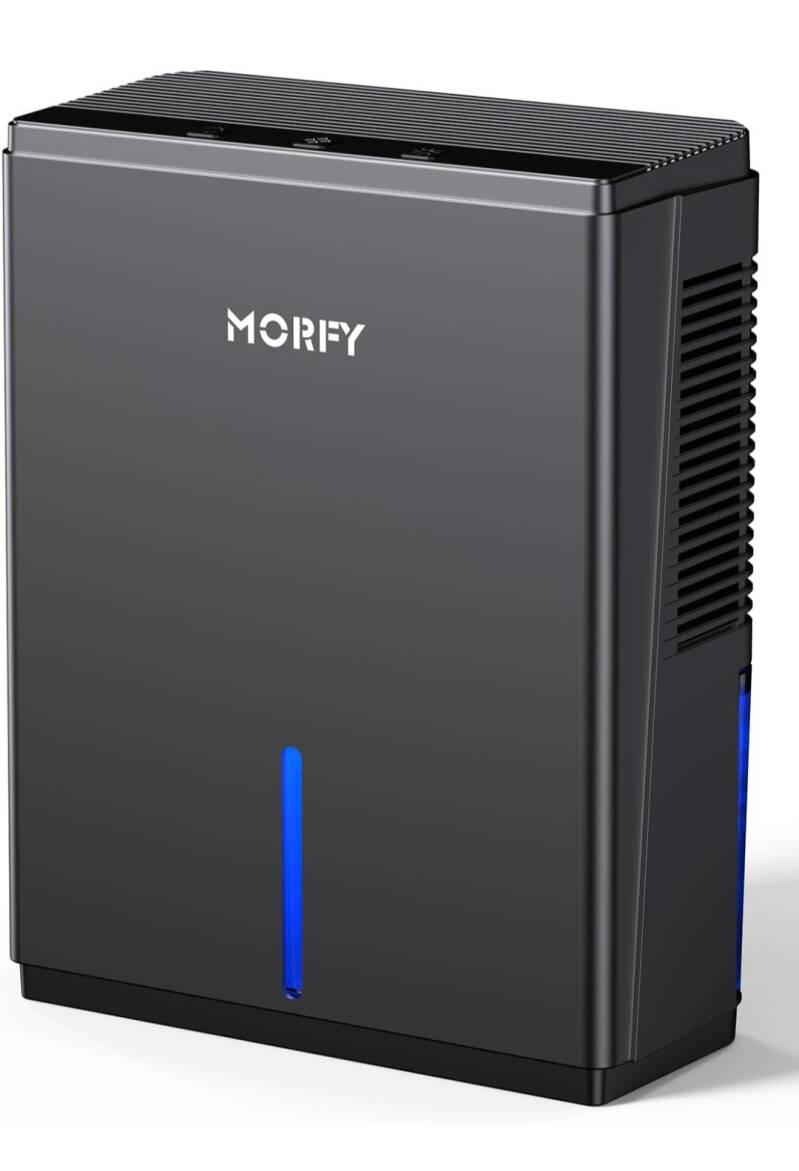
Essential Tip: If you're storing your RV without power, moisture absorbers can help manage humidity. If you have reliable electrical service, a properly sized dehumidifier may be another option. Check on your RV periodically throughout the winter for condensation, leaks, or unwanted visitors.
Recommended Product:
Consider using moisture absorbers to help prevent mold growth inside your RV. Shop Moisture Absorbers Here

Recommended Product:
Looking for an option for Winter and year around use? Check out this sleek dehumidifier from Morfy!
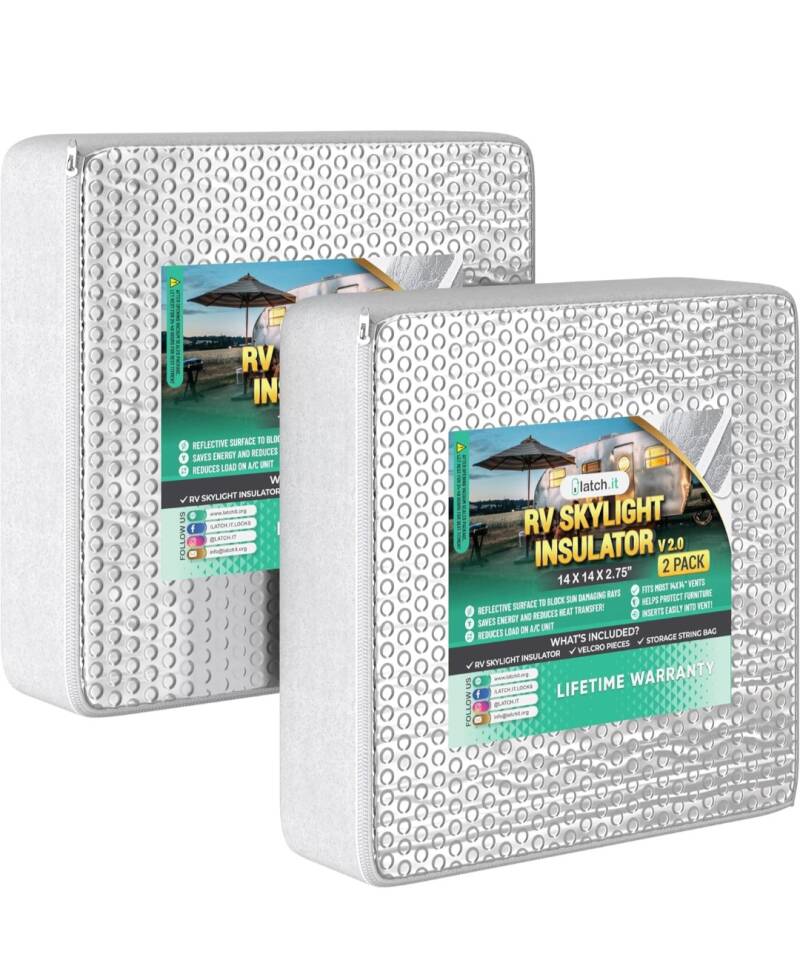
Cover Windows and Vents: Cold air can sneak into your RV through windows and roof vents. Install vent covers and use insulated window coverings to keep out the chill. Don’t forget to block any unused vents.
Recommended Product:
Use RV vent pillows available here for insulation.

Protect Your Furniture: If you're not going to be in your RV during the winter, cover your furniture with sheets or plastic coverings to protect them from dust and moisture.
Differences Between RV Types:
Motorhomes with built-in systems like thermostats or automated leveling might require you to carefully disconnect the systems or put them in sleep mode before leaving the RV. Travel trailers and fifth-wheels typically have fewer electronic systems inside, making the process a bit simpler.


2. Winterizing the Outside of Your RV
Your RV’s exterior will be exposed to some of the harshest winter conditions, including snow, ice, and freezing rain. The body, roof, and tires are vulnerable to damage from prolonged exposure, so ensuring these areas are properly protected is a key part of winterizing.
Steps:
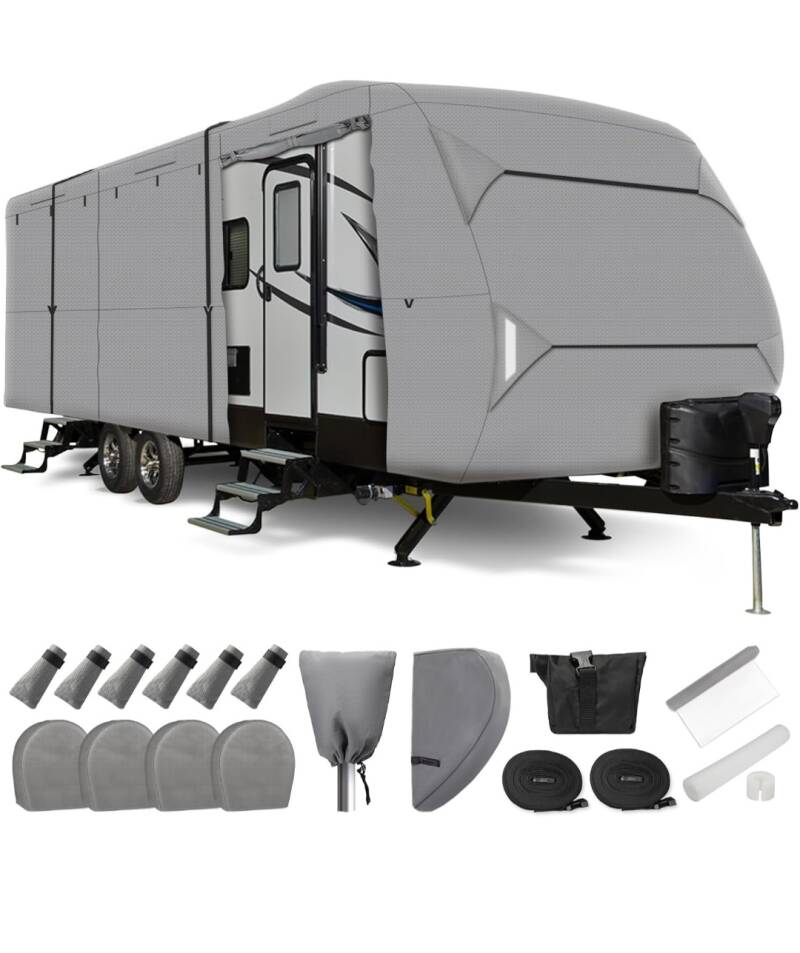
Use an RV Cover: A high-quality, breathable cover is a must to protect your RV from snow and ice accumulation. It will prevent water from pooling on the roof and protect your RV’s paint from damage due to cold weather and UV rays. Make sure to cover your windows and vents as well.
Recommended Product:
Since everyone's RV is different shapes and sizes. It is important to have options! Click here to find the right cover for your Rig.
Protect Your Tires: Tires can become brittle and cracked from prolonged exposure to cold temperatures. Before covering them, make sure your tires are inflated to the manufacturer’s recommended PSI. Using tire covers will prevent cracking and UV damage.
Recommended Product:
Check out these tire covers from Explore Land. Right Here! These are highly rated best sellers.

Seal Windows and Doors: Take some time to inspect the seals around your RV’s windows and doors. Use an RV-specific sealant to patch up any cracks or gaps. This prevents moisture from seeping in and causing damage.
Recommended Product:
Use this RV sealant to prevent leaks. Click here!

Roof Inspection: Before covering your RV, thoroughly inspect the roof for any signs of damage. Repair any cracks or areas where water could seep in.
Differences Between RV Types:
Motorhomes may require extra attention around engine compartments, as those areas also need to be covered or sealed properly.
Pop-up campers might need additional insulation for soft sides, while fifth-wheels often require rooftop inspections because of their larger roof areas.


3. Winterizing Your RV's Plumbing System
Your RV’s plumbing is perhaps the most vulnerable system when it comes to freezing temperatures. Without proper care, water left in pipes, tanks, or the water heater can freeze and expand, leading to cracks and bursts that require costly repairs. Winterizing the plumbing system ensures water is flushed out and replaced with antifreeze to keep everything safe.
Steps:
Drain All Water: The first step is to drain all water from your RV’s system, including the fresh water tank, gray water tank, and black water tank. Most RVs come with low point drain valves that allow you to drain these systems.
Recommended Tool:
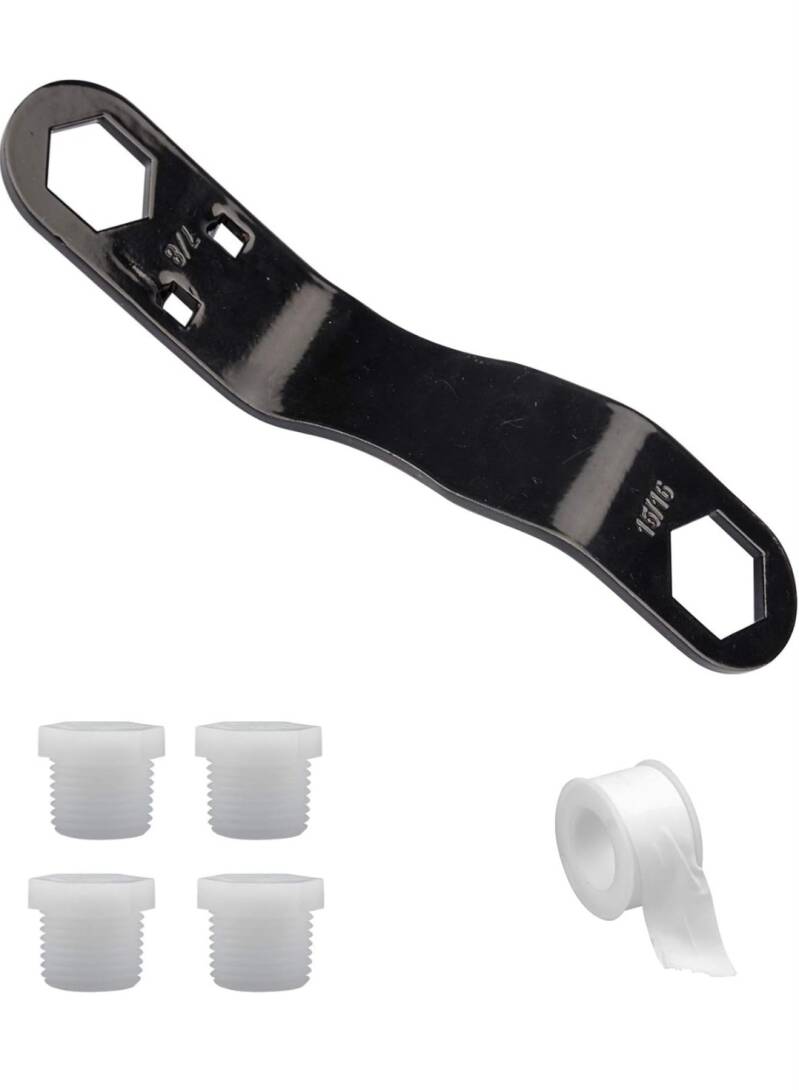
You will need a basic socket set to pull the drain plug from your Water Heater. Or you can use this Wrench specifically designed for RV Water Heaters. Click Here!
Bypass the Water Heater: Before adding antifreeze, you’ll want to install a water heater bypass kit. This prevents antifreeze from filling up the water heater, saving both time and money.
Recommended Product:
Install a water heater bypass kit find one here. Like this one from Camco. Click Here!

Blow Out Water Lines: To remove excess water from the pipes, use an air compressor to blow out the water lines. You can connect the air compressor to the city water inlet with a blow-out plug and run air through each faucet until no more water comes out.
Recommended Tool:
Use a blow-out adapter kit like this one, Right Here!
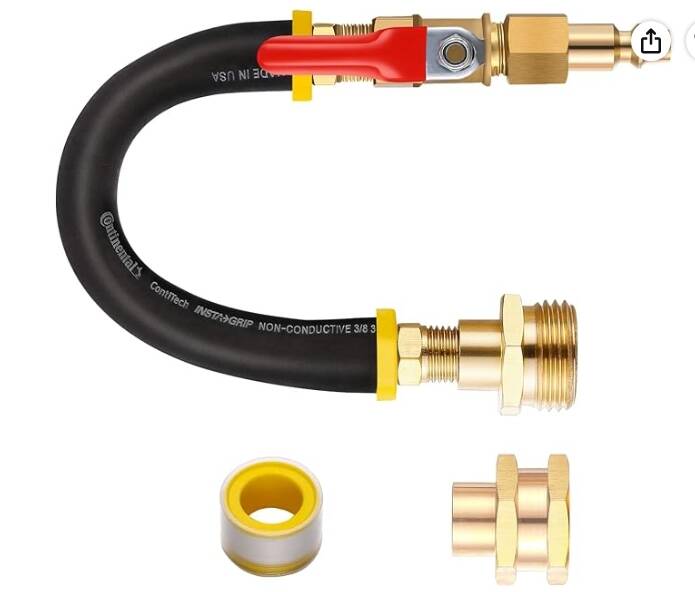
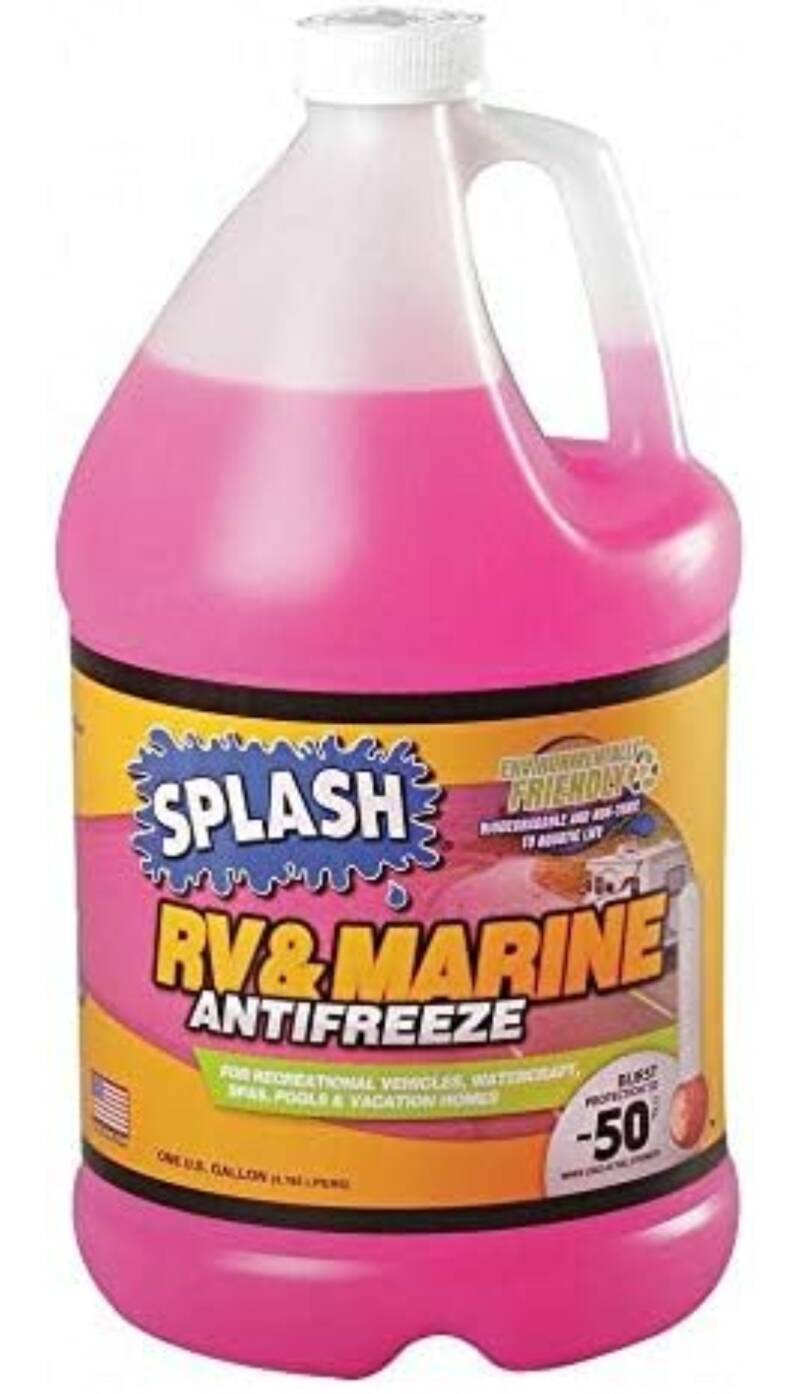
Add RV Antifreeze: Once your lines are blown out, it’s time to add RV antifreeze. Use a water pump converter kit to pump the antifreeze into the system. Open each faucet one by one until you see pink antifreeze coming through. Don’t forget to run the antifreeze through the shower, toilet, and any outdoor water outlets.
Recommended Product:
Purchase RV antifreeze get it here.
Don't Forget These Commonly Missed Winterization Steps!
Even after draining your water tanks and protecting your plumbing lines, a few overlooked areas can still cause problems when temperatures drop.
-
Sink and Shower Drains: Add RV-approved antifreeze to P-traps to protect any remaining water.
-
Toilet: Protect the flush valve and bowl seal according to the manufacturer's instructions.
-
Outdoor Shower: Don't forget the hot and cold water lines outside your RV.
-
Water Filters: Remove or bypass filter cartridges as recommended by the manufacturer.
-
Extra Appliances: Ice makers, washing machines, dishwashers, and tankless water heaters may require additional winterization procedures.
Essential Tip: Always use antifreeze specifically approved for RV potable-water plumbing. Never use automotive antifreeze in your RV's fresh-water system.
Taking a few extra minutes to check these areas can help prevent an expensive surprise when spring arrives!
Differences Between RV Types:
Motorhomes often have more complicated plumbing systems with additional outlets like outdoor showers, which will also need to be winterized.
Travel trailers and fifth-wheels may have simpler plumbing, but make sure not to skip any hidden outlets or lines.

4. Winterizing Your RV’s Electrical System
Your RV’s electrical system needs to be properly cared for before storing your RV for the winter. Disconnecting batteries, protecting electrical components, and ensuring rodents don’t find their way in are important parts of the process.
Protect Your RV Batteries: Before putting your RV into winter storage, make sure your batteries are properly prepared. Lead-acid batteries should generally be fully charged and maintained according to the manufacturer's instructions.
Lithium batteries may require a different storage charge level and special precautions against charging in freezing temperatures. Disconnect unnecessary electrical loads and check your battery manufacturer's recommendations before storage.
Recommended Tool:
Get this Battery Maintainer available here to protect your battery during the winter.

Shut Off the Power: Unplug your RV from shore power if it’s connected, and make sure to shut off any electrical systems that could drain power.
Rodent Protection: Rodents like to find their way into RVs in the winter, especially if they sense food or warmth. Remove all food items and place rodent traps or deterrents around the RV to keep critters at bay.
Differences Between RV Types:
Motorhomes, with their built-in electrical systems and generators, will need more attention than trailers. Ensure all systems are disconnected and that your RV is free of any electrical loads before storage.
For More RV Power Specifics - Preparing for Fall: Power Solutions for Your RV


5. Winterizing the Engine and Fuel System (Motorhomes Only)
For those who own motorhomes, your engine and fuel system need to be winterized as well. Protecting the engine from freezing and the fuel from going stale ensures that your RV will start up without issues when the warmer weather returns.
Steps:
Add Fuel Stabilizer: Before storing your RV for the winter, add fuel stabilizer to the gas tank. This helps prevent the fuel from degrading over time.
Recommended Product:
Get fuel stabilizer here.

Check Fluids: Top off all your engine fluids, including coolant, brake fluid, and engine oil, to ensure the engine is protected during freezing conditions.
Use an Engine Block Heater: For colder climates, consider using an engine block heater to keep the engine from freezing. This is especially important for diesel engines.
Recommended Product:
Magnetic Engine Heater - Right Here!

Final Thoughts: A Little Preparation Goes a Long Way
Winterizing your RV might seem intimidating the first time, but once you understand the process, it becomes another important part of responsible RV ownership.
Taking the time to protect your plumbing, electrical system, interior, and exterior can help prevent expensive repairs and make getting back on the road in spring much easier.
Don't Miss a Step — Grab Your FREE RV Winterization Checklist!
We've put together a free Winterization Checklist and step-by-step video to help you work through the process with confidence.
Want All Your RV Checklists in One Place?
Our RV Basic Essentials Checklist App includes winterization, packing, towing, arrival, departure, safety, and boondocking checklists—all conveniently available in one digital tool.
For just $9.97, one-time, you'll have an organized way to keep track of essential RV tasks throughout the camping season.
Here's to protecting your RV today so it's ready for tomorrow's adventures.
Happy Camping!
Don't forget to checkout our Social Media too!

Add comment
Comments